Buying new servers
To purchase a new server, click on the ‘Buy server’ button in the upper-right corner of the screen. In the modal window, select an integration with a server provider and then choose an account registered with this provider. Press ‘Continue’ to open the server setup wizard.
In the wizard, set the server name and choose its region in the dropdown menu. The wizard will then display the possible options differentiated by their hardware.
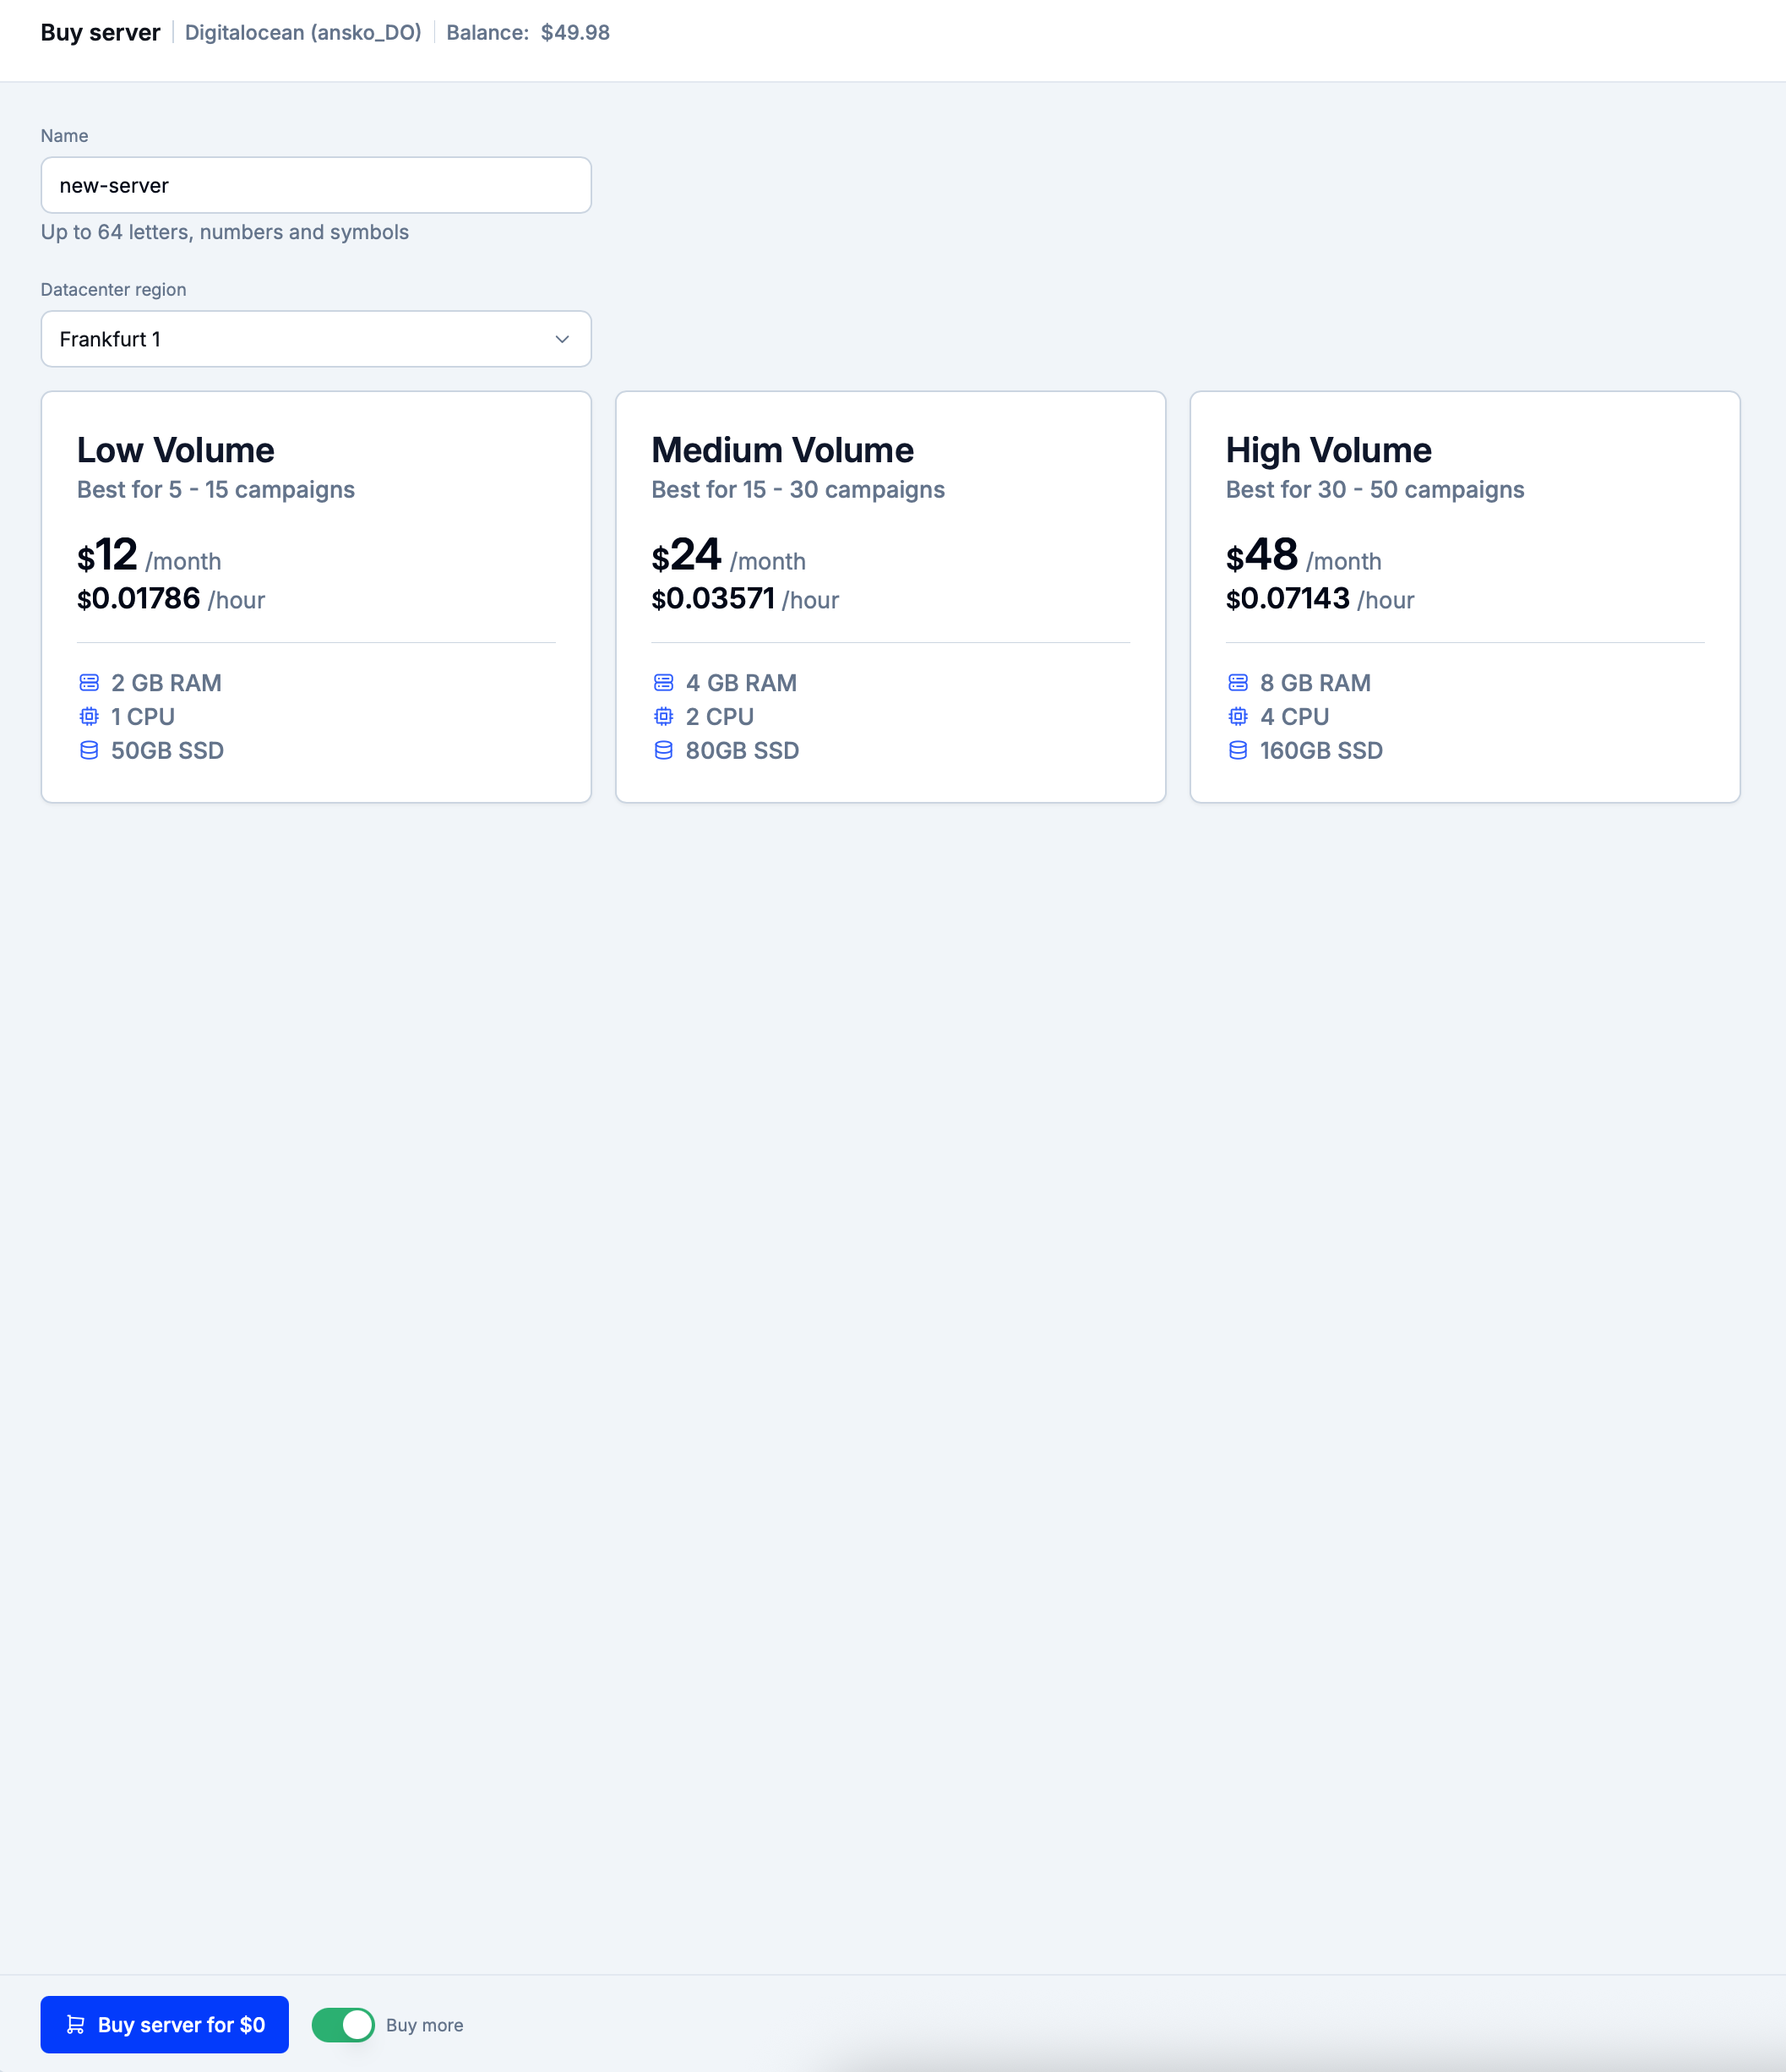
Choose a suitable option and then click on ‘Buy server for…’ to submit a purchase request and return to the Servers section.
Info
After the purchase is complete, the server provider will generate a pair of SSH keys used for accessing the server.
These keys will be automatically added to the API integrations section.
Buying several servers
Enable the ‘Buy more’ switch to buy more than one server. Afterward, submit a purchase request.
Eversend will still display the server purchase wizard which will retain the previously chosen datacenter region and the server hardware. The server name will be derived from the previously set name with a timestamp attached after a dash.
Press ‘Buy server for…’ to immediately submit a new purchase request without having to spend time on reconfiguring the wizard.